
This article is part of a 20-minute walkthrough which uses the scenario of hiring and onboarding H2A workers to show you how each of the features may be used by your organization.
What is a Document Request?
A "Request" is a set of instructions that can be sent to a person via email or text message. They'll receive a hyperlink to a mobile friendly web page that allows them to respond by uploading requested documents.
The task:
Let's send a request to (fictitious) Juan Valdez, asking him to send in copies of his travel receipts. We'll see what he receives and also review the documents that he submits.
Click the "Requests" option near the top of the screen.
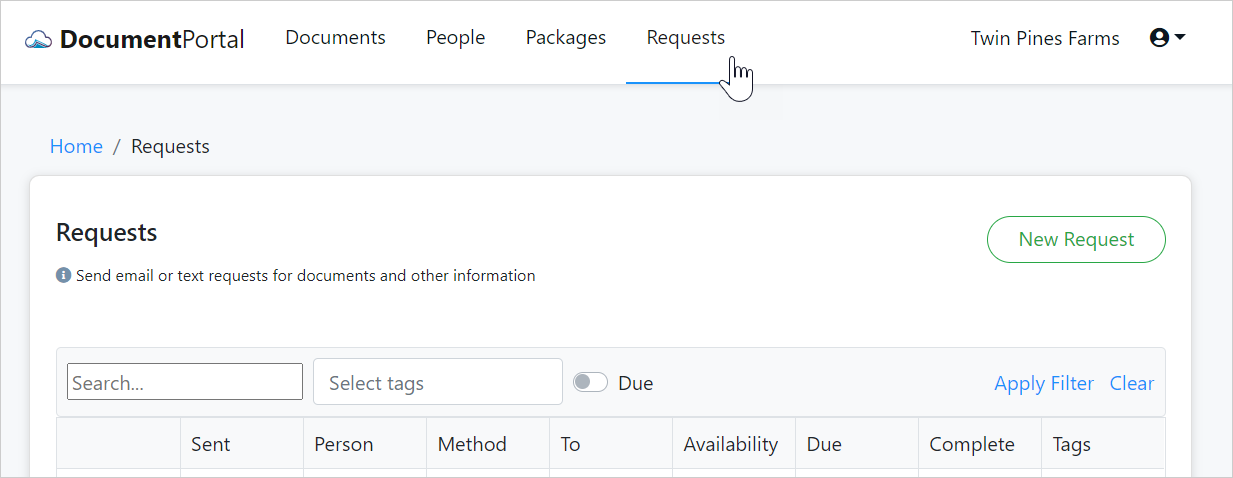
Now, click the "New Request" button at the top of the Requests Screen.
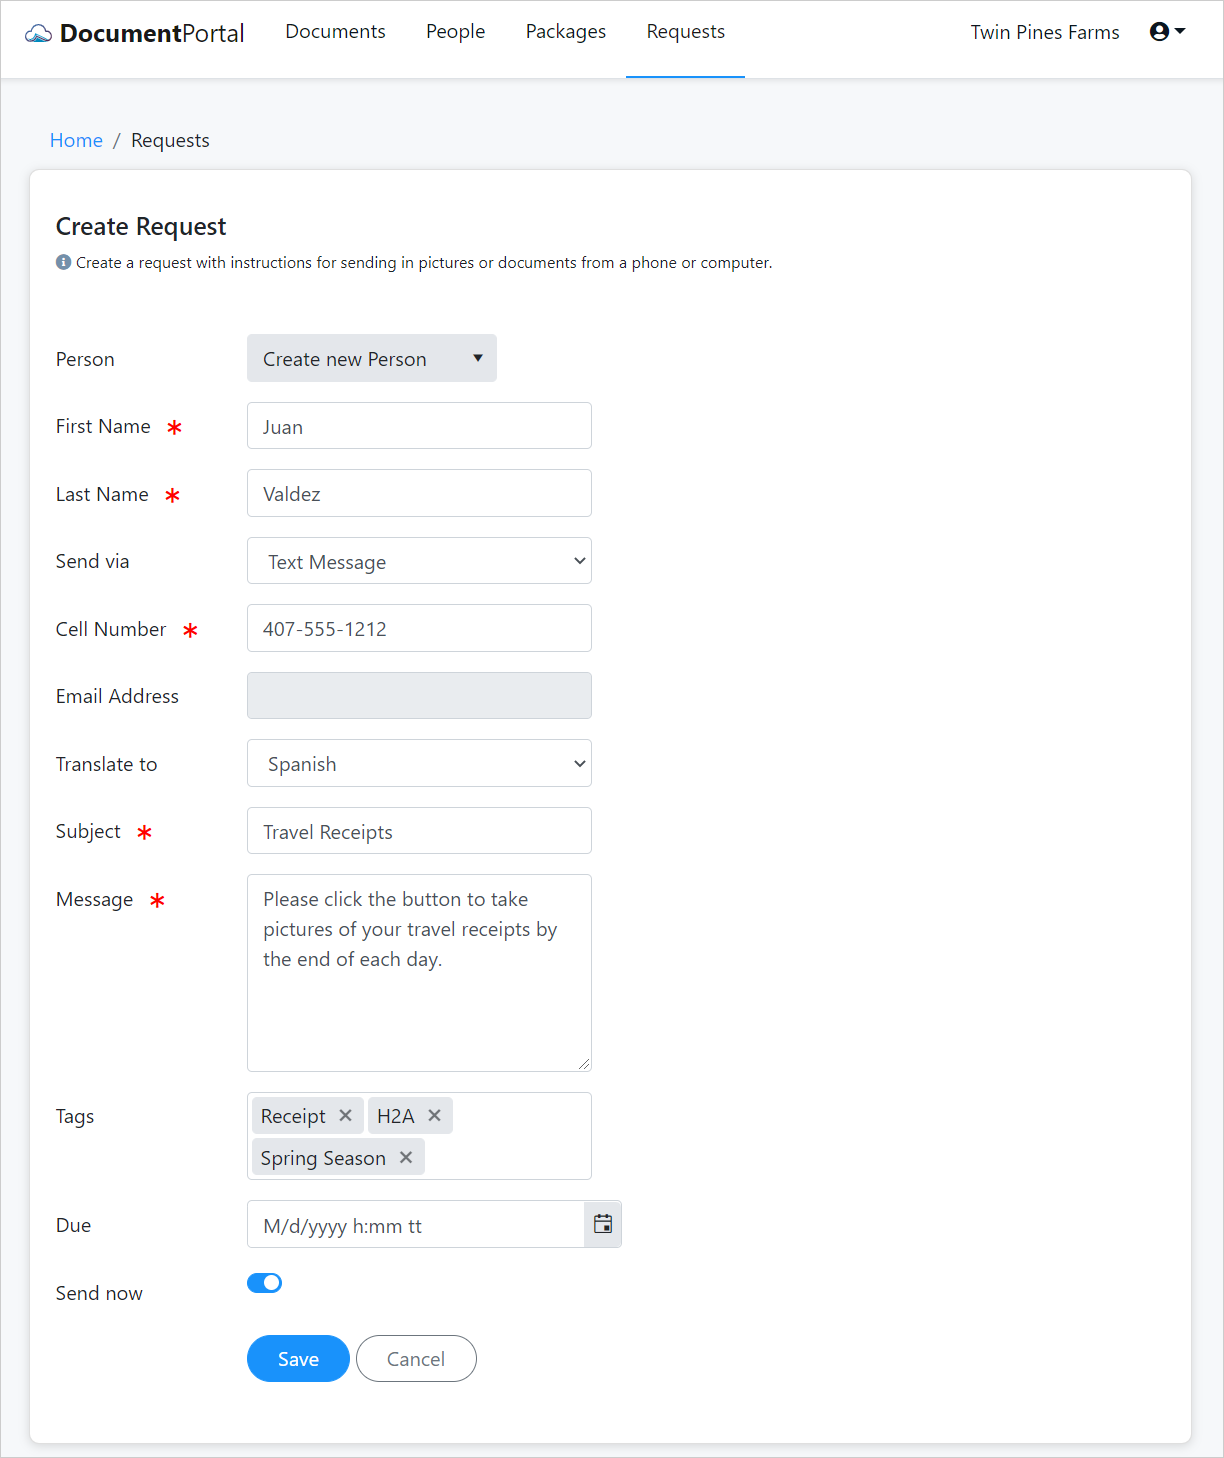
Fill out the Create Request screen as illustrated below except please use your own Cell Number so you can see what it looks like on the receiving end.
Notice that we will be creating Juan Valdez as a new person. If you wish to later send him another request, you'll select his name from the list rather than using the "Create new Person" option.
Click the "Save" button then check your cell phone for text messages.
Once you've received the message, tap its link to view the request. Tap the "Capture an image" button to snap a photo of today's lunch receipt (or any other document on your desk.)
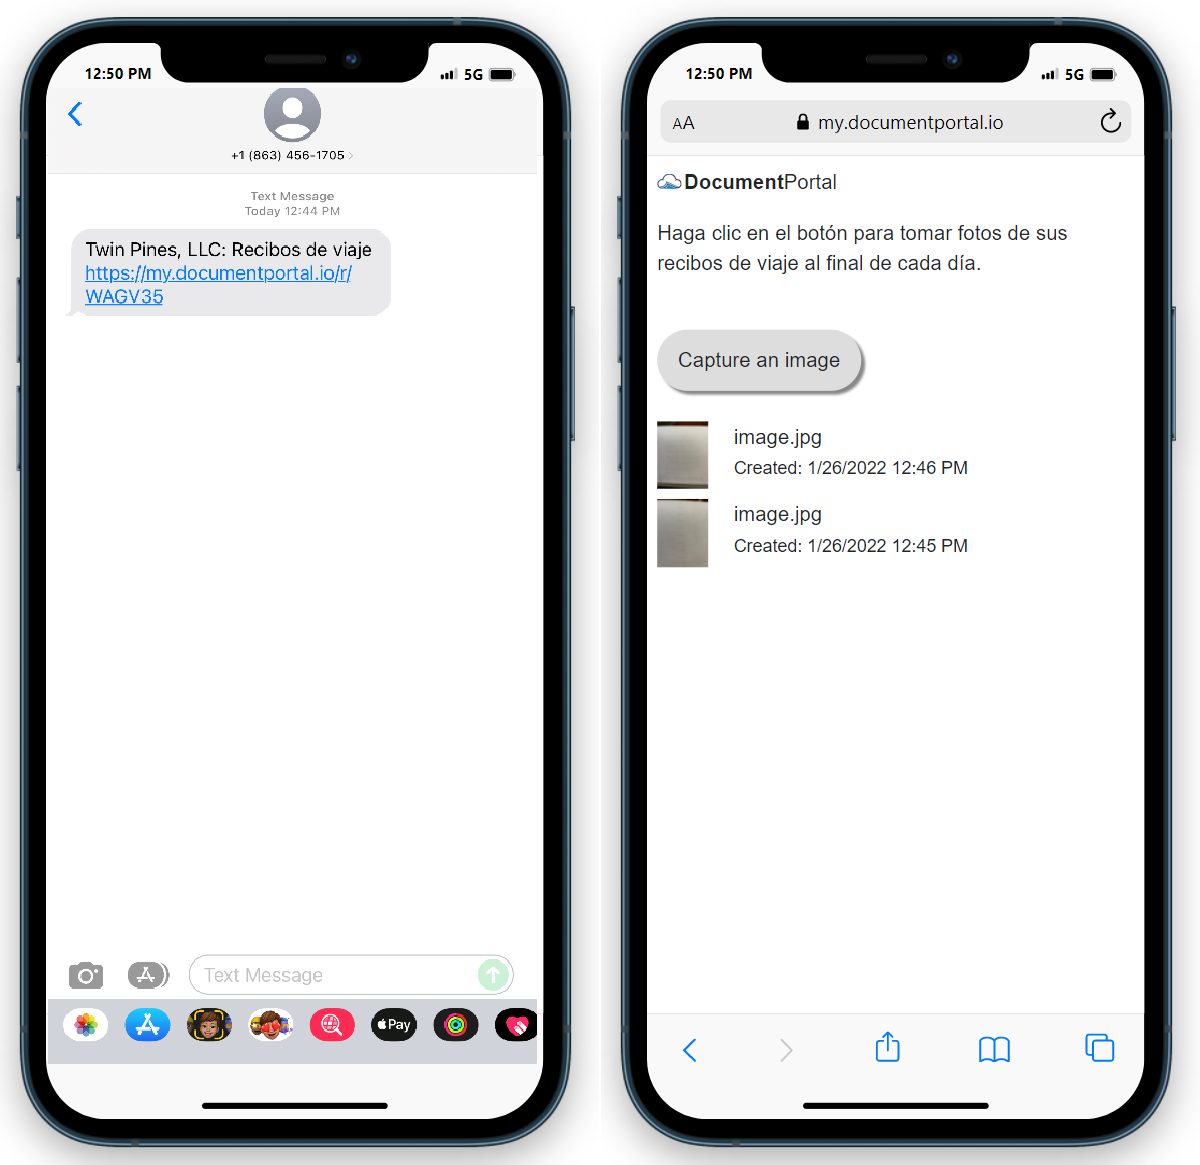
Now that "Juan Valdez" (you) have responded to the request, please refresh the Request Page in Document Portal to review the collected document(s).
There's a lot more to know about Requests and it's all covered by the online documentation. For now, let's keep moving along.
Continuing on
Now that we've received files from our document request, let's move on to the next step of creating a package that can be used to keep track of our progress towards ensuring each worker provides all required documents.
| 4. Create a package |  |
Comments
0 comments
Please sign in to leave a comment.