
Data Entry Fields are used to enter information for each Person in the "Person Details" screen when the "Edit" button is clicked. Document Portal includes several built-in data entry fields such as First Name, Last Name, Phone Number, and Address information. You can also create Custom Data Entry Fields to enter information for each Person that may be merged into Forms.
How to find the Data Entry Fields
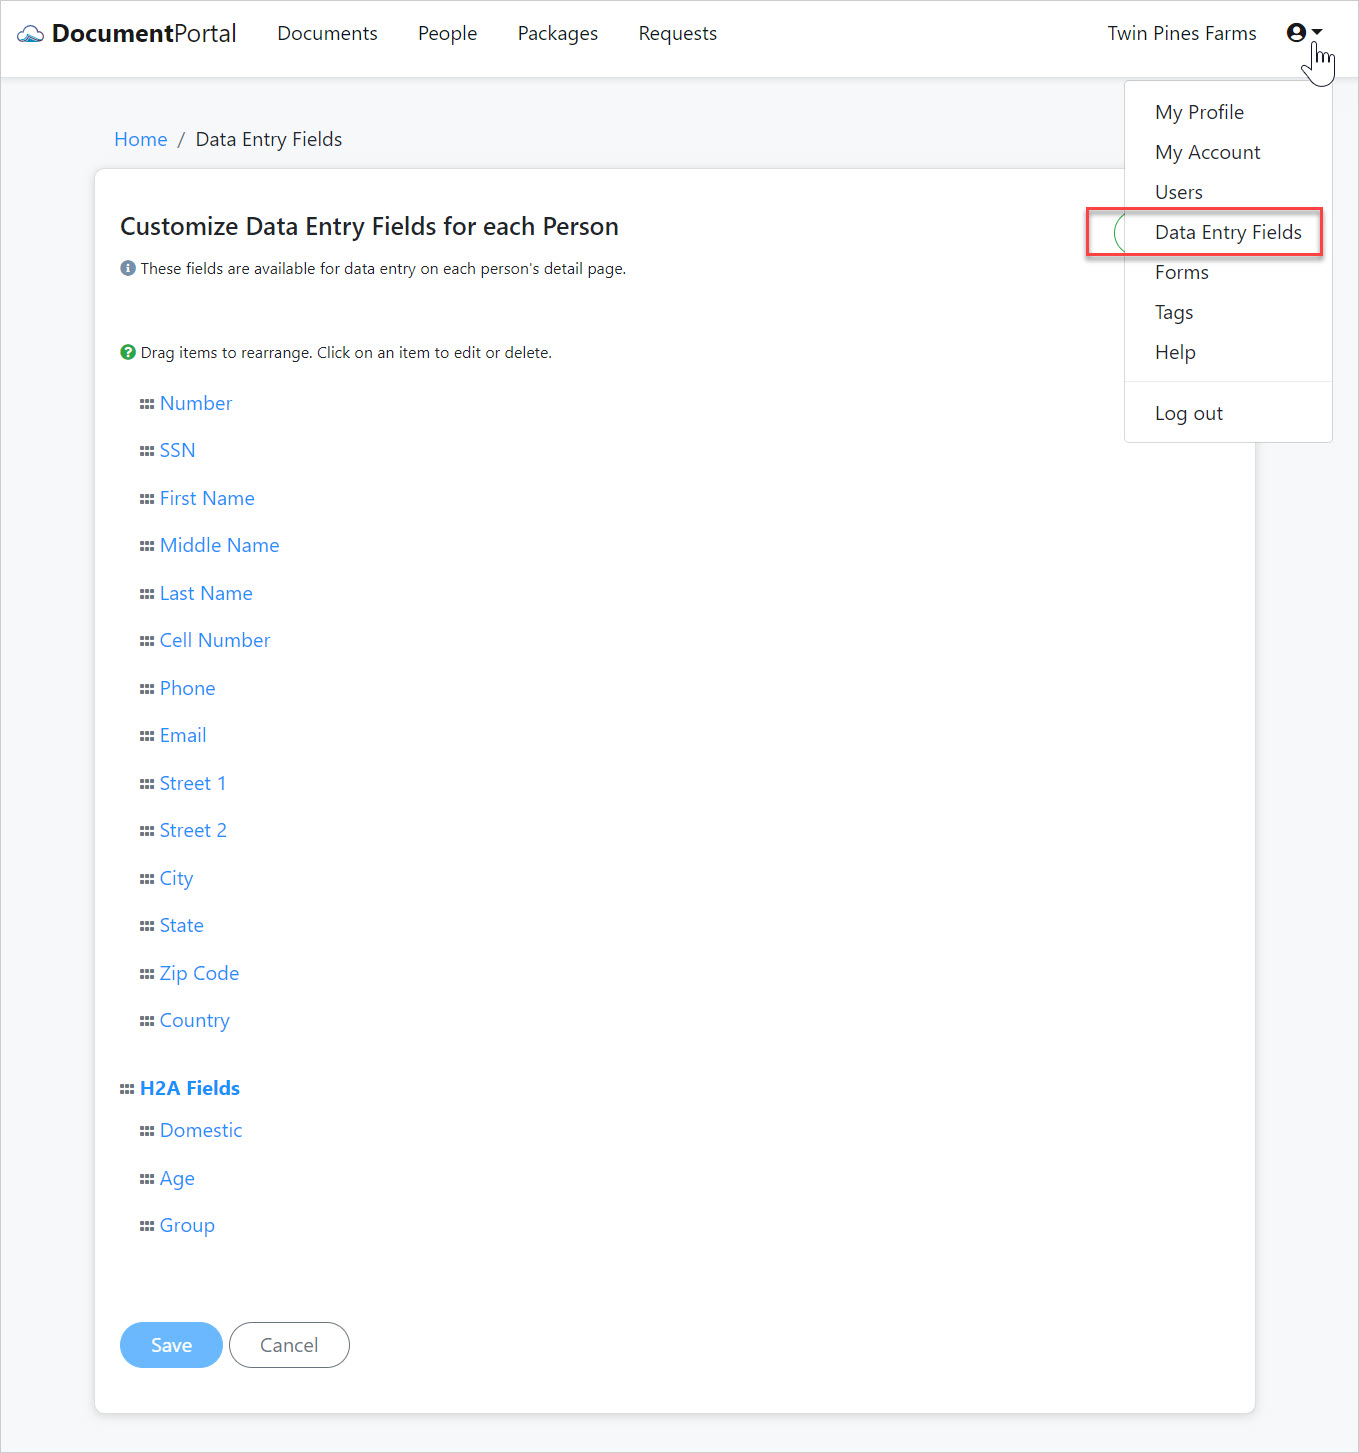
Click the drop-down button at the upper-right side of the screen then click "Data Entry Fields". Note that this option will be disabled if you are not an Administrator for the current account.
Data Entry Fields options
Once you've loaded the Data Entry Fields screen, you can perform the following actions.
Add section heading. Click the "Add" button to display a drop-down menu then select "Section Heading" to display the "New Custom Heading" screen. Enter the name of the new heading and click the "Continue" button. Notice the heading is displayed at the bottom of the Data Entry Fields screen but the new heading will not actually be saved unless you click the "Save" button.
Add data entry field. Click the "Add" button to display a drop-down menu then select "Custom Field" to display the "New Custom Field" screen. Enter the label for the new custom data entry field and click the "Continue" button. Notice the field is displayed at the bottom of the Data Entry Fields screen but the new data entry field will not actually be saved unless you click the "Save" button.
Change the label. Click on the label for any heading or data entry field to display a screen that lets you modify the item. After doing so, click the "Continue" button to close the editing screen. Please note that the changes will not be saved until you click the "Save" button.
Move the field. Change the position of a section heading or a data entry field within the list by dragging the grab handle (rectangular box) for the item. The rearranged items will be saved once you've clicked the "Save" button.
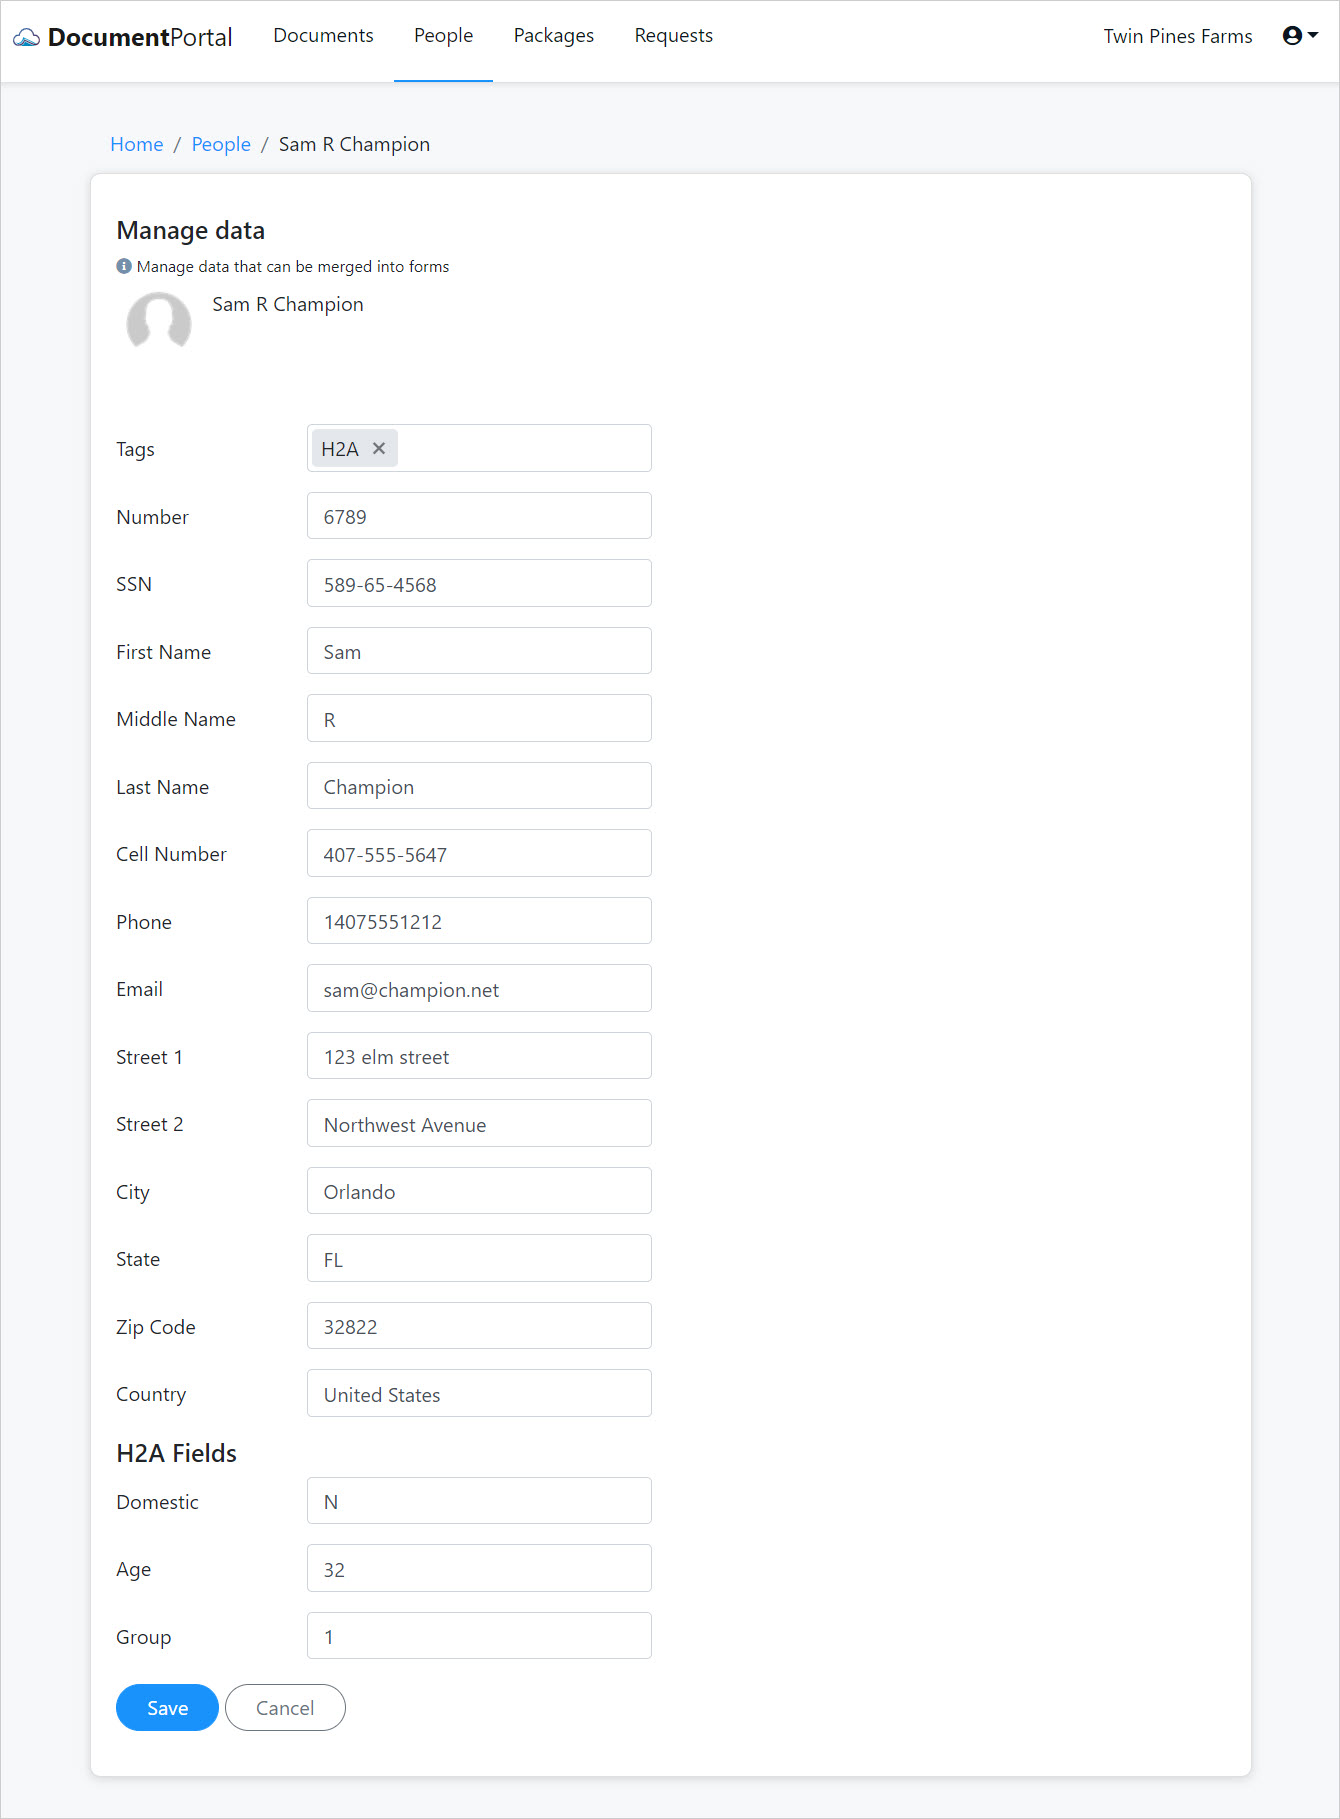
After adding and rearranging data entry fields, open the Person Details for any Person and click the "Edit" button to review the updated data entry screen.
Comments
0 comments
Please sign in to leave a comment.