
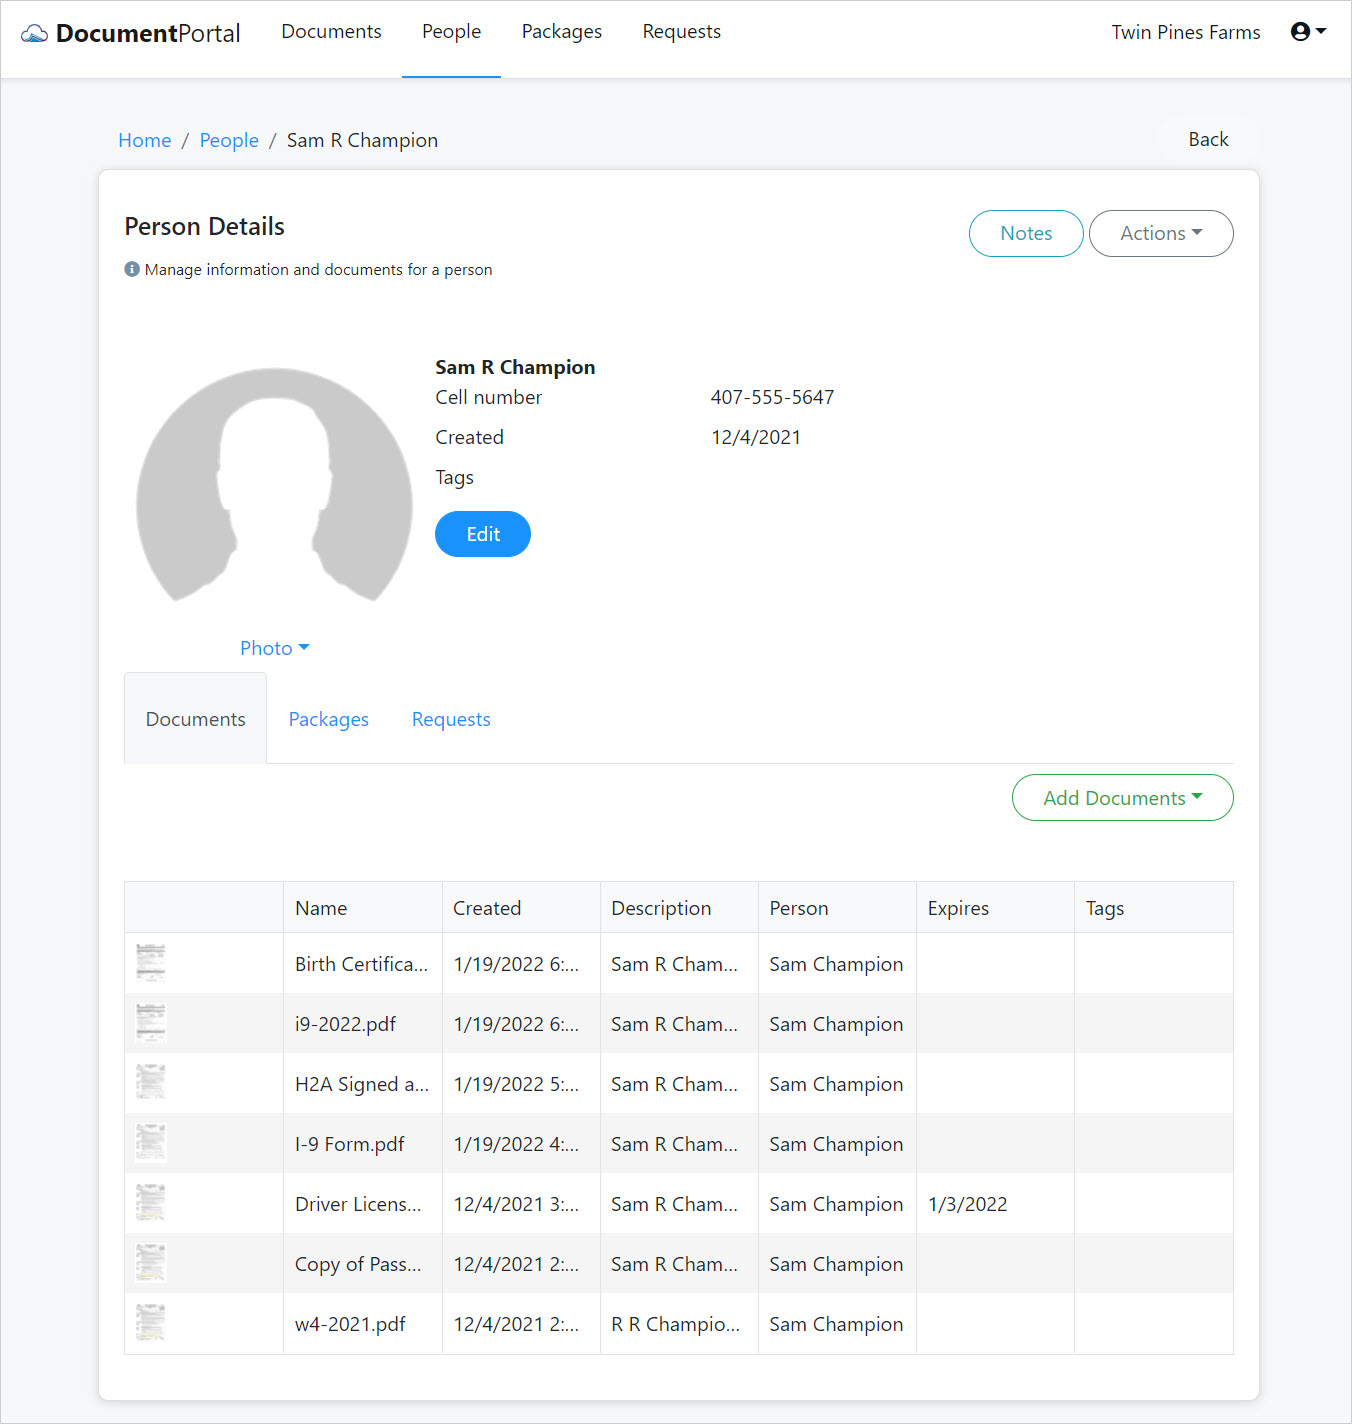
The "Person Details" screen provides options to review, update, delete and view information relating to a Person.
People are created and accessed from the People List screen and represent individuals such as employees, customers or others with whom you may wish to associate documents. Document Portal provides built-in fields such as First Name, Last Name, and Address but also allows you to create custom fields to maintain other information that can be merged into Forms and generate new Documents.
Person Details options
Once you've loaded the screen for a Person, you can perform the following actions.
Edit. Click the Edit button to change the name, address, email, phone number and other custom information for the Person. This information will be available to merge into Forms to generate Documents. The topic, Data Entry Fields, describes how to customize the data entry fields which are available when editing a Person's details.
Create Notes. Click the "Notes" button to display the "Person Notes" screen which allows you to add and review notes which have been associated with the Person.
Delete. Click the "Actions" button to display a drop-down menu then click "Delete" and confirm when prompted. Deleting a Person will permanently remove the record for the Person but will not affect any related Documents except to remove the relationship with the deleted individual.
Portal Settings. Click the "Actions" button to display a drop-down menu then click the "Portal Settings" option to display the "Edit Portal Settings" screen which lets you decide if/how the person can respond to requests. If you switch "Enable Portal" off, the Person will no longer be able to use any Request hyperlink. If you switch "Require PIN" on and specify a 4-digit PIN number, the Person will be prompted to enter that PIN number when they click on a Request hyperlink.
Documents. Select the "Documents" tab to review a list of Documents which have been associated with the Person. Click on the row for any Document to review its details. Click the "Add Documents" button to display a drop-down menu with the following options.
- Upload. Select this option to display the "Upload Documents" screen which lets you select and upload a file from your desktop.
- From Camera. Select this option to activate your computer's camera and capture an image which is saved in the Person's Document List.
- From Forms. Select this option to display the "Merge Forms" screen which allows you to select one of more Forms into which the Person's information will be merged. Use the "Combine into one document" switch to choose whether a separate document will be generated for each selected form.
- Send Document Request. Select this option to display the "Create Request" screen which lets you send a Request to the person with instructions for providing documents.
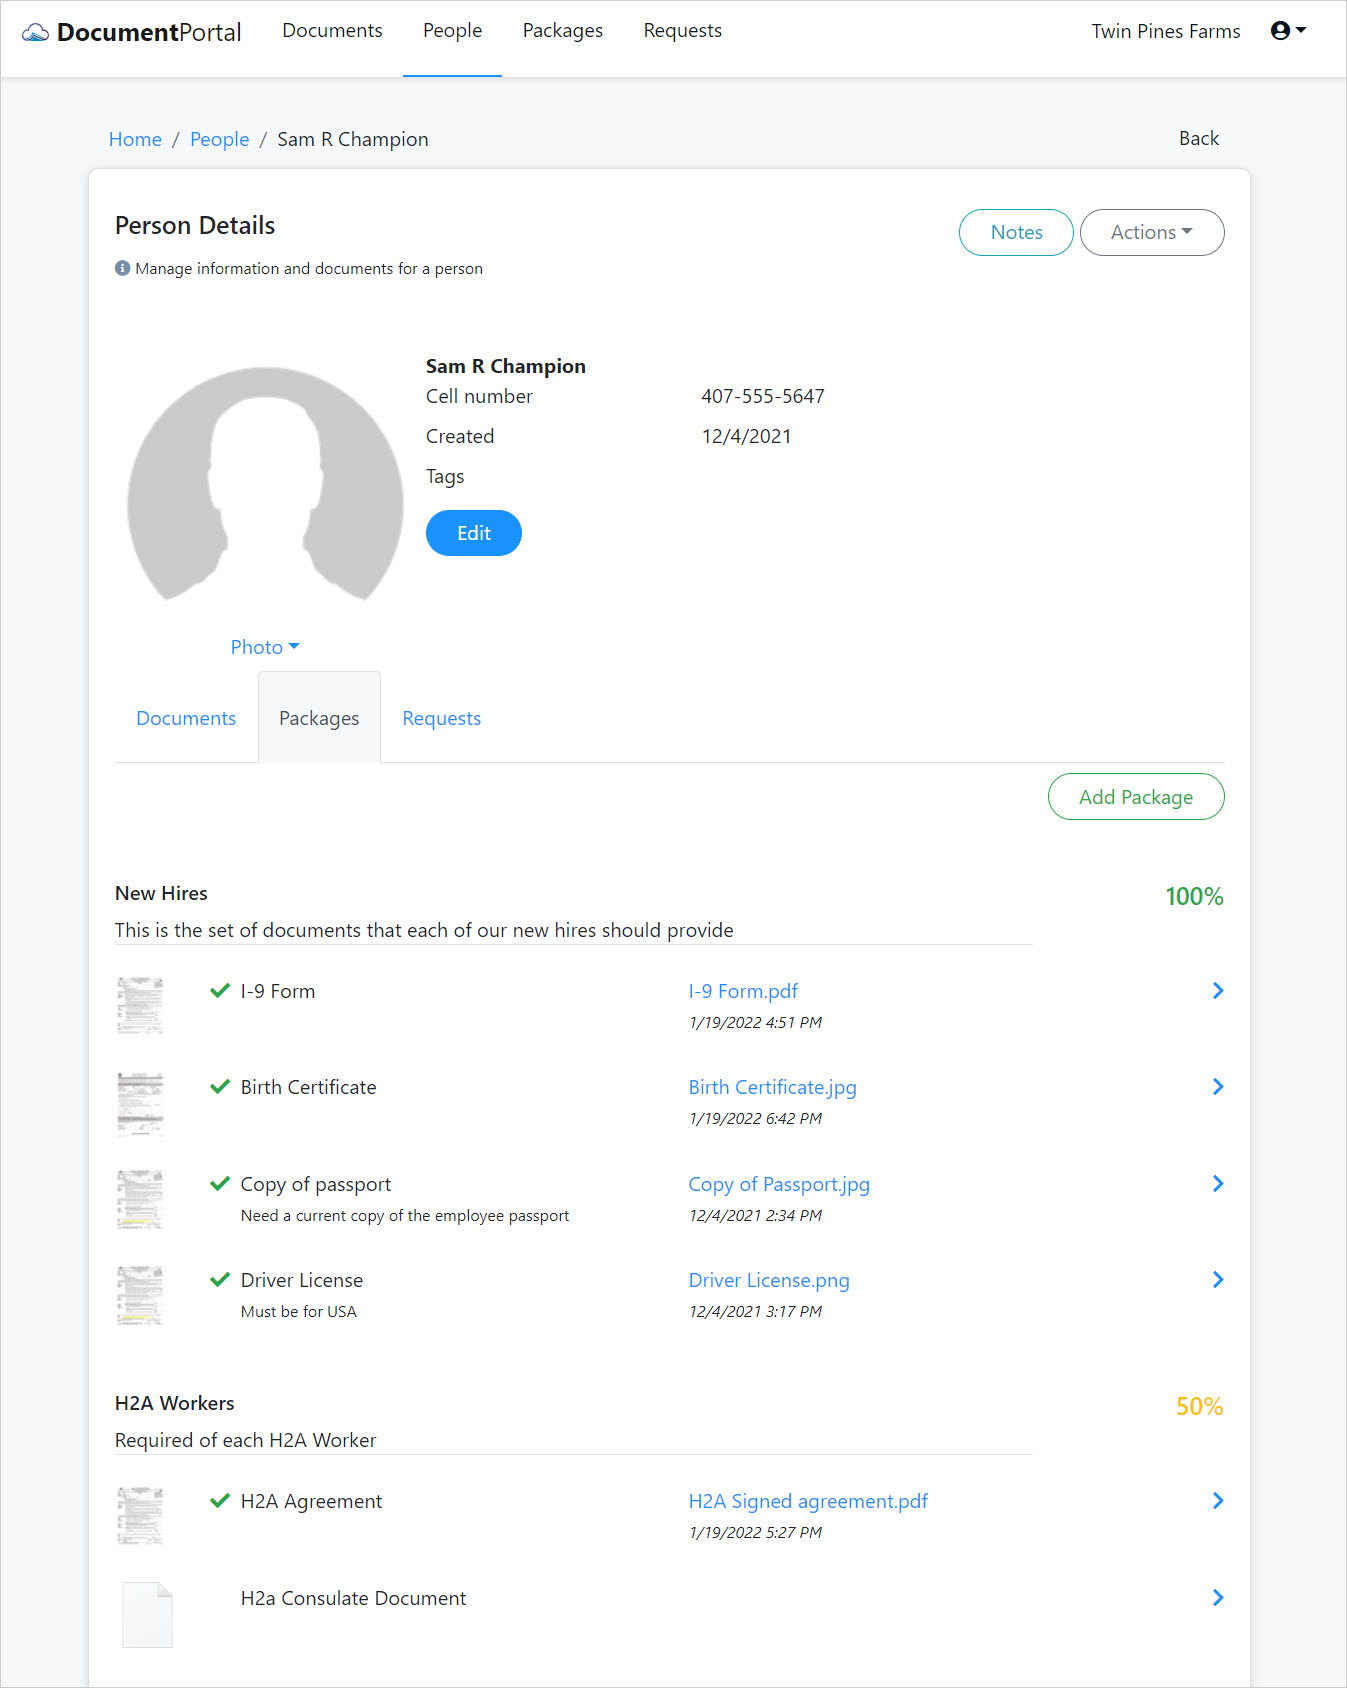
Packages. Select the "Packages" tab to review the status of Packages which have been associated with the Person. Click the "Add Package" button to associate additional Packages. For each listed Package Item, click the right chevron > symbol to upload a file, use the camera or associate an existing Document with the Package item.
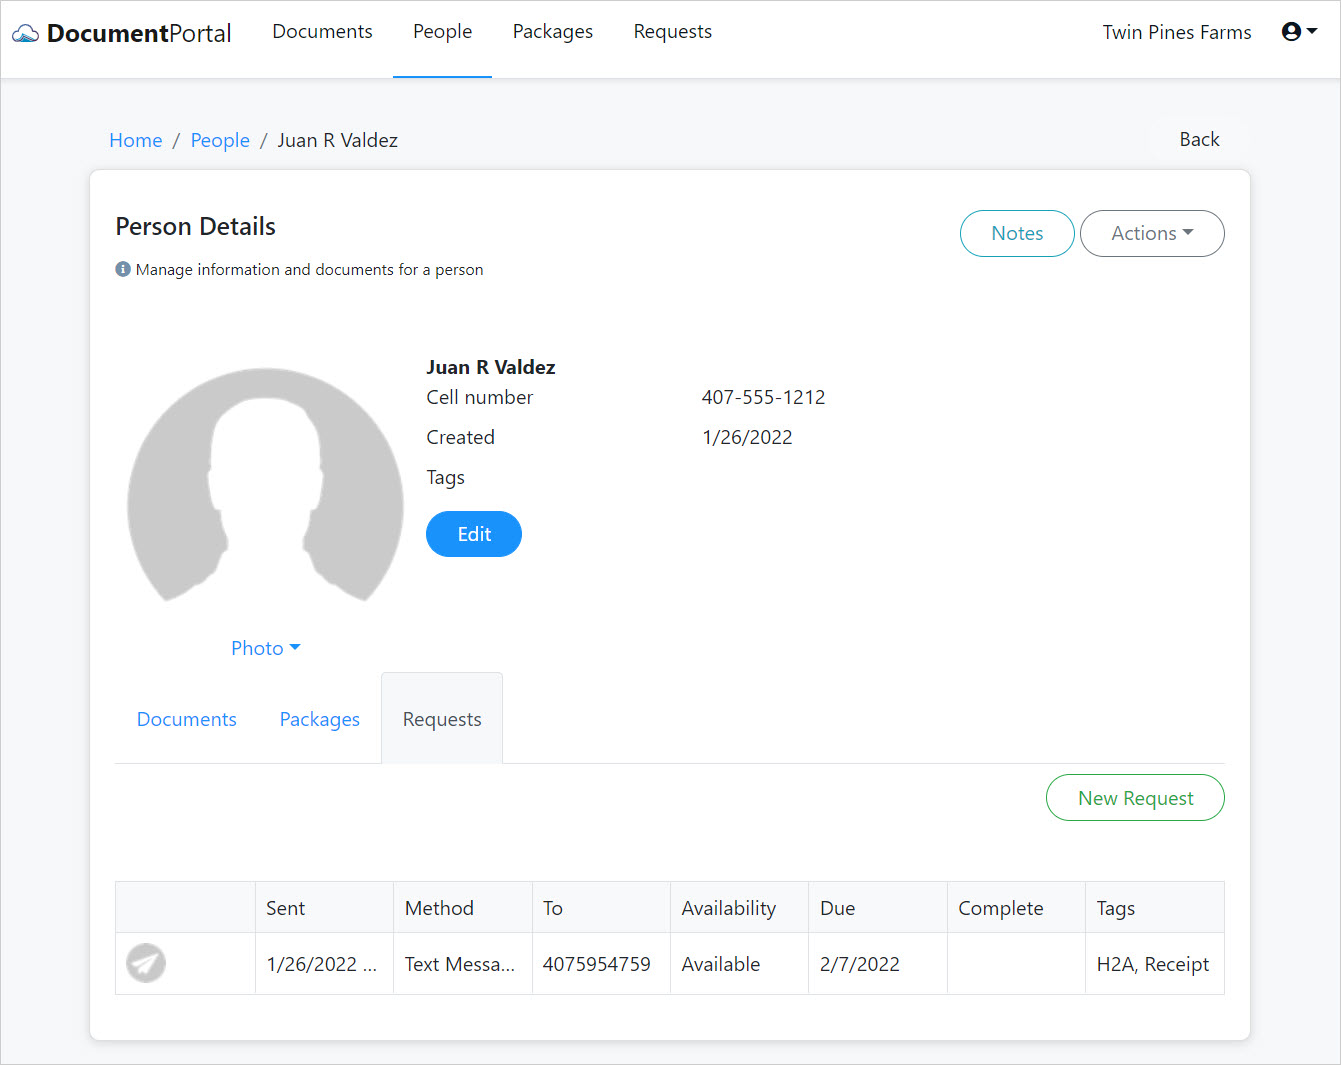
Requests. Select the "Requests" tab to review the status of Requests for the selected Person. Click the "New Request" button to display the "Create Request" screen which lets you send a Request to the person with instructions for providing documents. Click on the row for any Request to review Request Details, re-send the Request or review Documents which have been received for the Request.
Comments
0 comments
Please sign in to leave a comment.